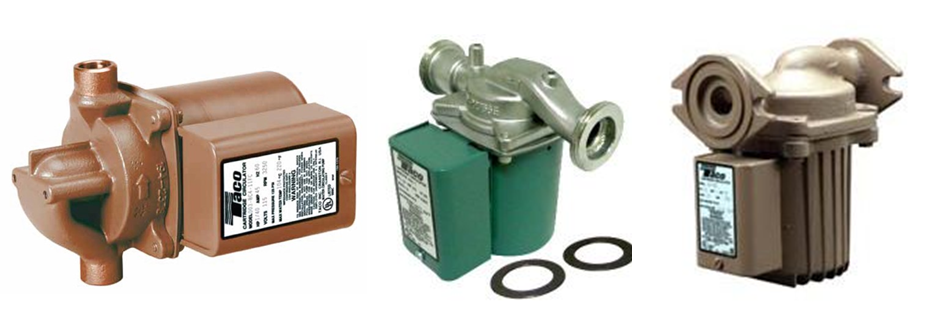

BumbleBee circulator
I was traveling home to Long Island after a long week at Taco’s IDC training center in Rhode Island a while ago. This trip I was driving a SmartCar that had graphics showcasing the HEC-2 Bumblebee circulator since the circulator had just made its debut.
I often make plans to use a ferry from CT to Long Island to get home. So as we were loaded on the ferry that evening and I get out of the SmartCar; an engineer from the ship sees the car, the graphics, the Taco logo and me wearing a Taco jacket and asks “Do you work for Taco?”
I refrained from the obvious smart-alec response and said yes. He then asked if I would mind coming down to the engine room to take a look at a couple of heating pumps that were leaking. I could barely contain my excitement! I have been traveling on this ferry for years and have been dying to get below deck. It had been years since I was in an engine room on a ship so I think I was skipping behind the engineer as he led me there!
He shows me these 6 pumps that they use for heating different areas of the ship. They had to replace the seals almost every three months lately and wanted to know what they were doing wrong. He showed me the process they used, the spare parts…..and I couldn’t find anything wrong with what they were doing. So the two of us are staring at this wall of  pumps wondering why the leaking. At this point, the ship was fully loaded and we were underway. I knew this not because I could look out a window, but the ship was moving a little bit due to the rough water conditions and then it dawned on me why these circs were now leaking at the seals.
So these particular pumps on the ship were our 1600 series circulators that have a mounting plate for the motor that was connected to the circulator. They didn’t need a base and there is no support needed; nor required for the motor. If you do, you will most likely have to replace the seals every three months. As I am explaining this to the engineer, he tells me that the motors have never been supported and it has been this way since they were installed over 30 years ago. So my suggestion was to replace these circs, repair was no longer an option. The engineer didn’t like this option, he wants to fix things, that’s his job and he loves to do it. However, these circs were not meant for his application!

Wait, What?! These were perfectly sized and did the job for the last 30 years. How could they not be good for this application? This jobsite is different compared to most others I have been to; as my coffee cup slid across the table we were sitting at. As I explained to the engineer, your boiler room pitches, rolls, and yaws! Those frames I was talking about were bent out of alignment causing the seals to fail prematurely. So changing these circs were inevitable.
He also mentioned that the power consumed by the ship in the winter was higher than what the shore power could supply due to the crew that would stay overnight and having to heat the ship without the engines running. Every few days, the breakers would trip and wanted to know if we could put in circulators that would consume less power. The solution to both of his problems was the VR15 circulators.
These circs would not only eliminate the frame mount as they are a direct mounted motor and circ, these are also ECM motors that could consume up to 85% less electricity but through the software, we could also limit the maximum power consumed by the circ with a simple adjustment.
Remember, we are unique bunch of people. This is not only our job, it is our passion. My wife nailed it many years ago describing what I do for a living; “This is not what you do, it’s what you are!”
Yes, I work for Taco!
Enjoy.


 temperature is a lot lower than 160 (and it typically is) then a mixing device will be needed to lower the temp like the
  A buddy of mine, Wayne, a contractor and HVAC instructor here on Long Island and I were having a conversation the other day and he asked why is Taco coming out with all of these new ECM motors? He understands that varying the speed of the circulator can save energy (fuel and electricity) and make homes more comfortable, but then again, the 007 ain’t broke and it has been doing a darn fine job since the 70’s and these new circs cost more.


 daunting and challenging to keep it neat. Using ductape and a marker, the number sticker labels (which still needs a legend), a label printer are options available, but when we are trying to our best work, this sometimes can get sloppy.